Network definition for EP5G
This guide will walk you through the steps of defining networking for EP5G (Ericsson Private 5G). The operation of the EP5G within ExPECA requires that networks and routers are defined from the view of Openstack.
Step 1: Reserve EP5G
See the “reservation of EP5G” section.
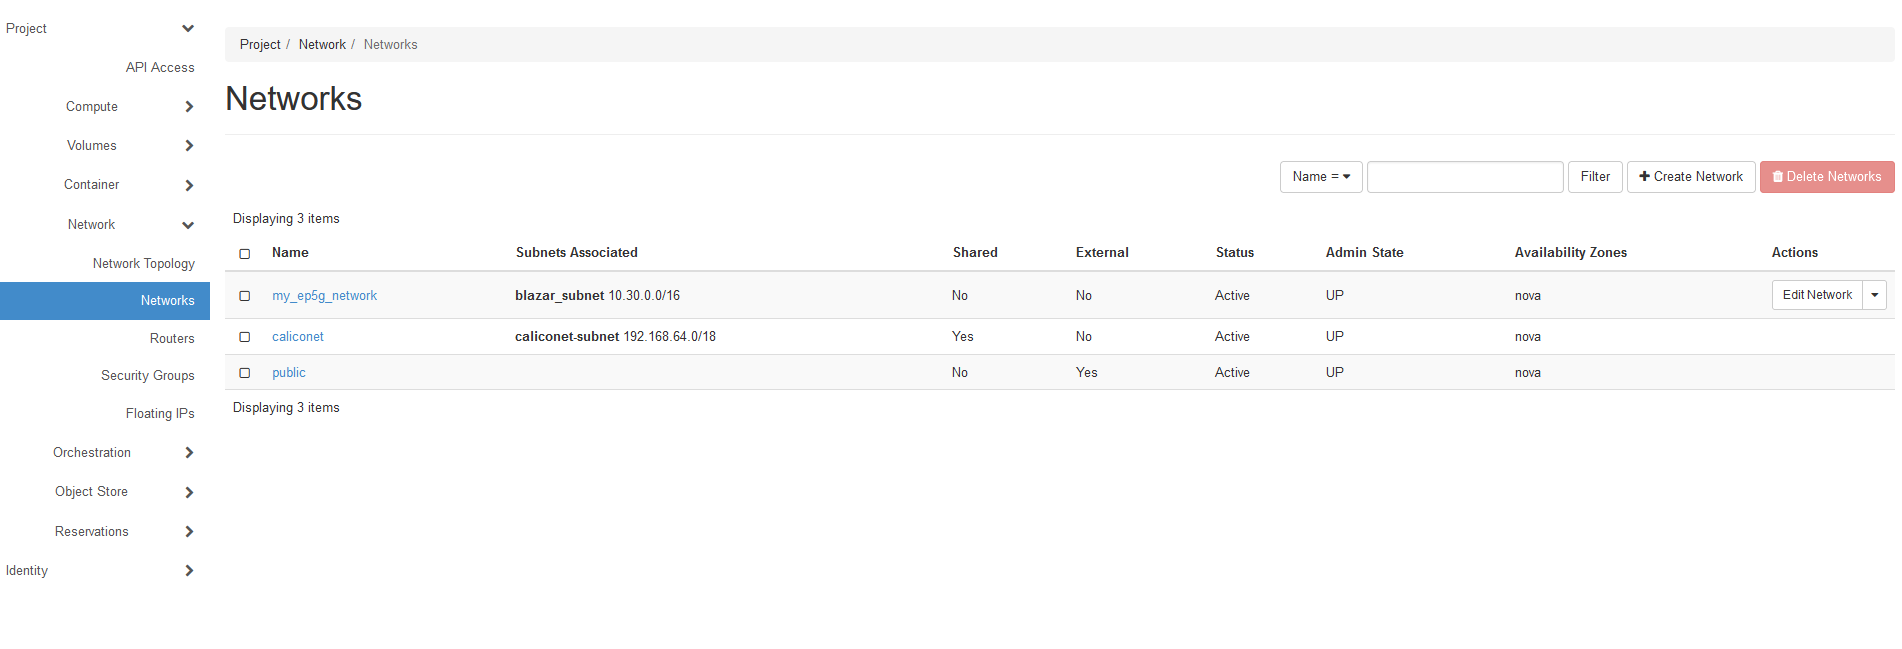
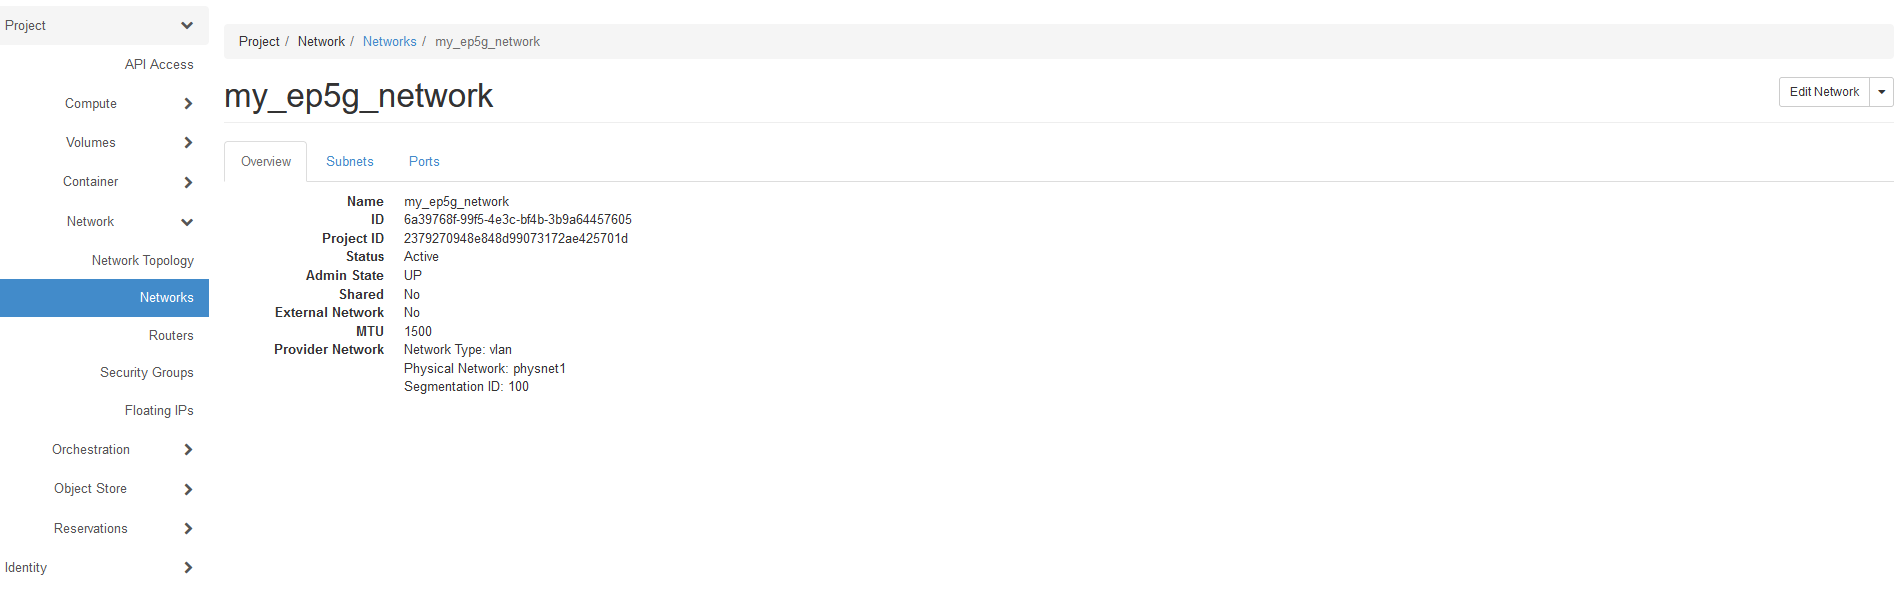
When reserving EP5G, a network is automatically created within Openstack with a name that is given in the reservation process.
Step 2: Create a router
From the ExPECA home page, click Network -> Routers
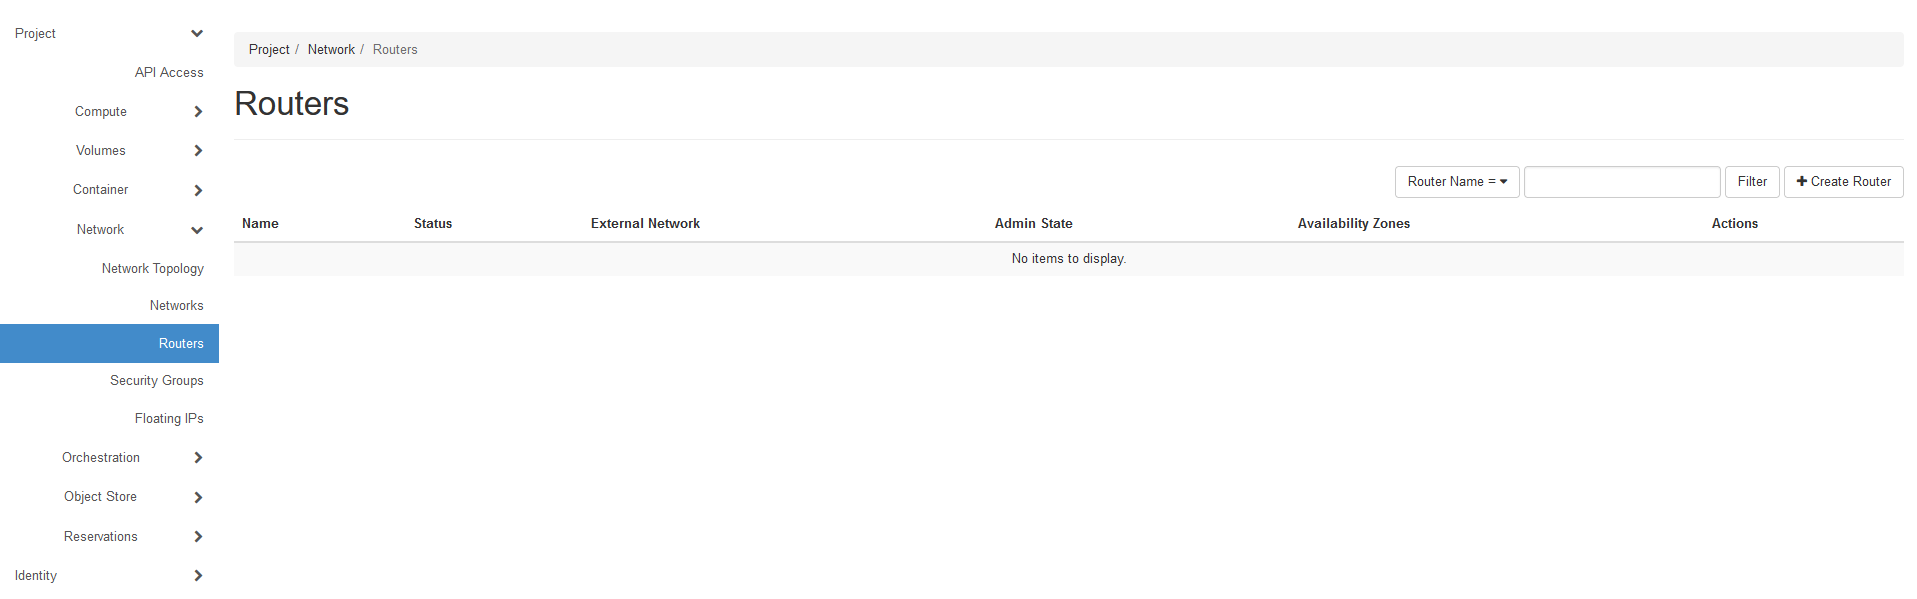
Click + Create Router
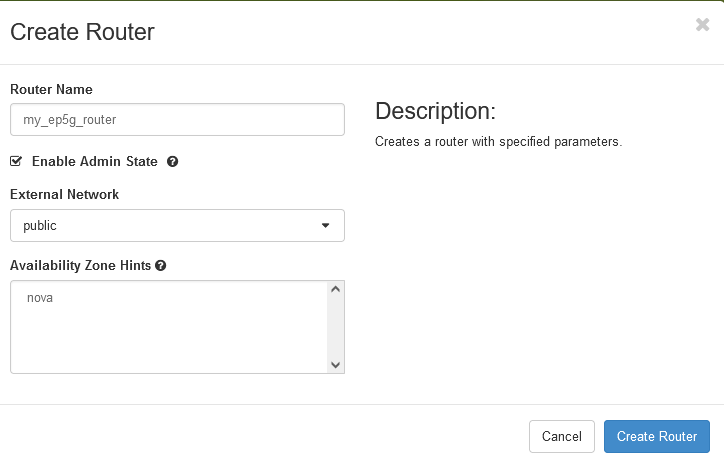
Give the router a name, and select “public” under External Network
Click Create
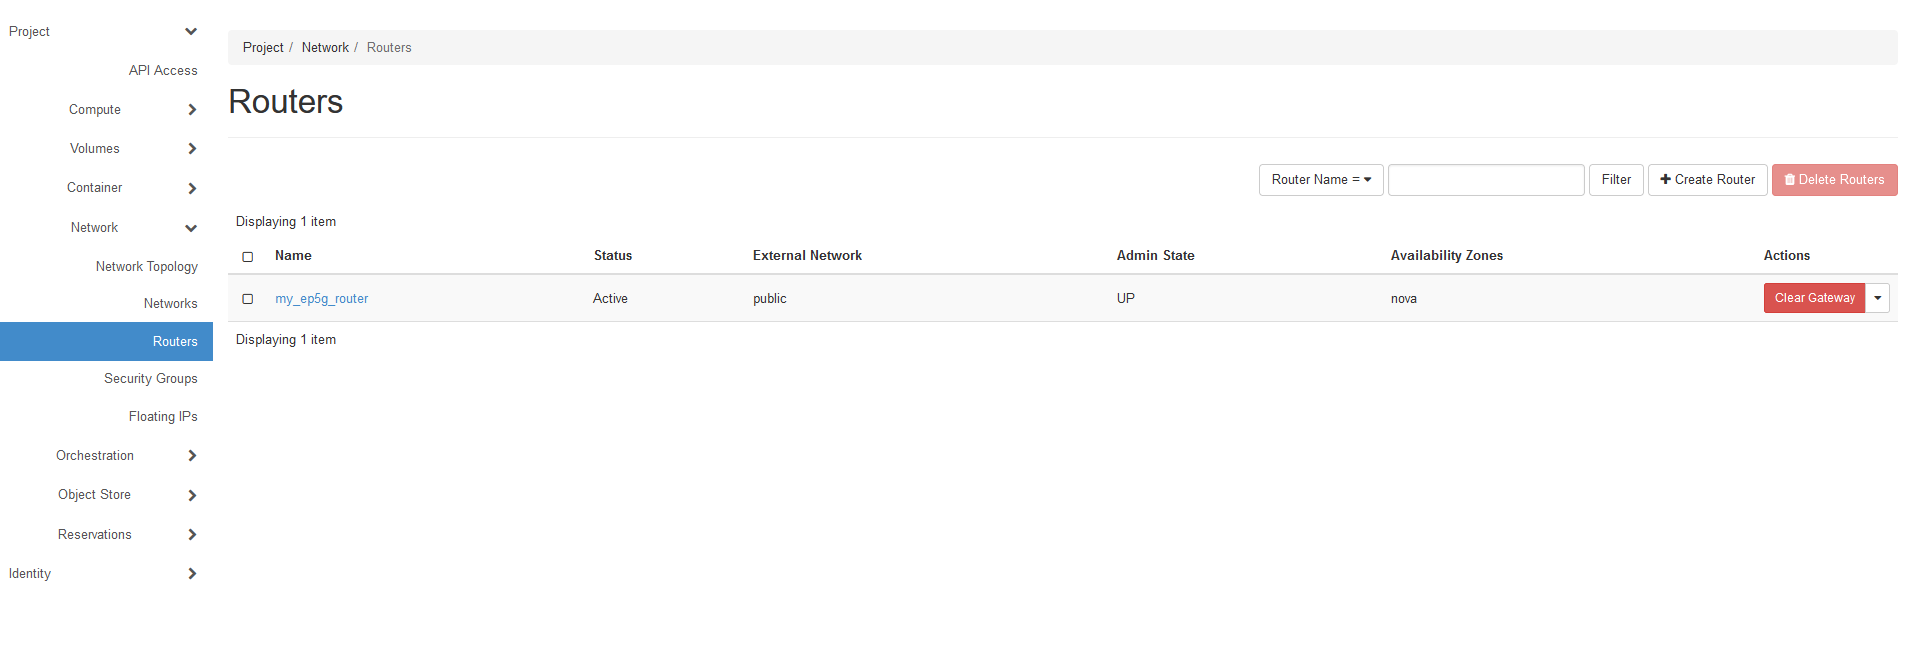
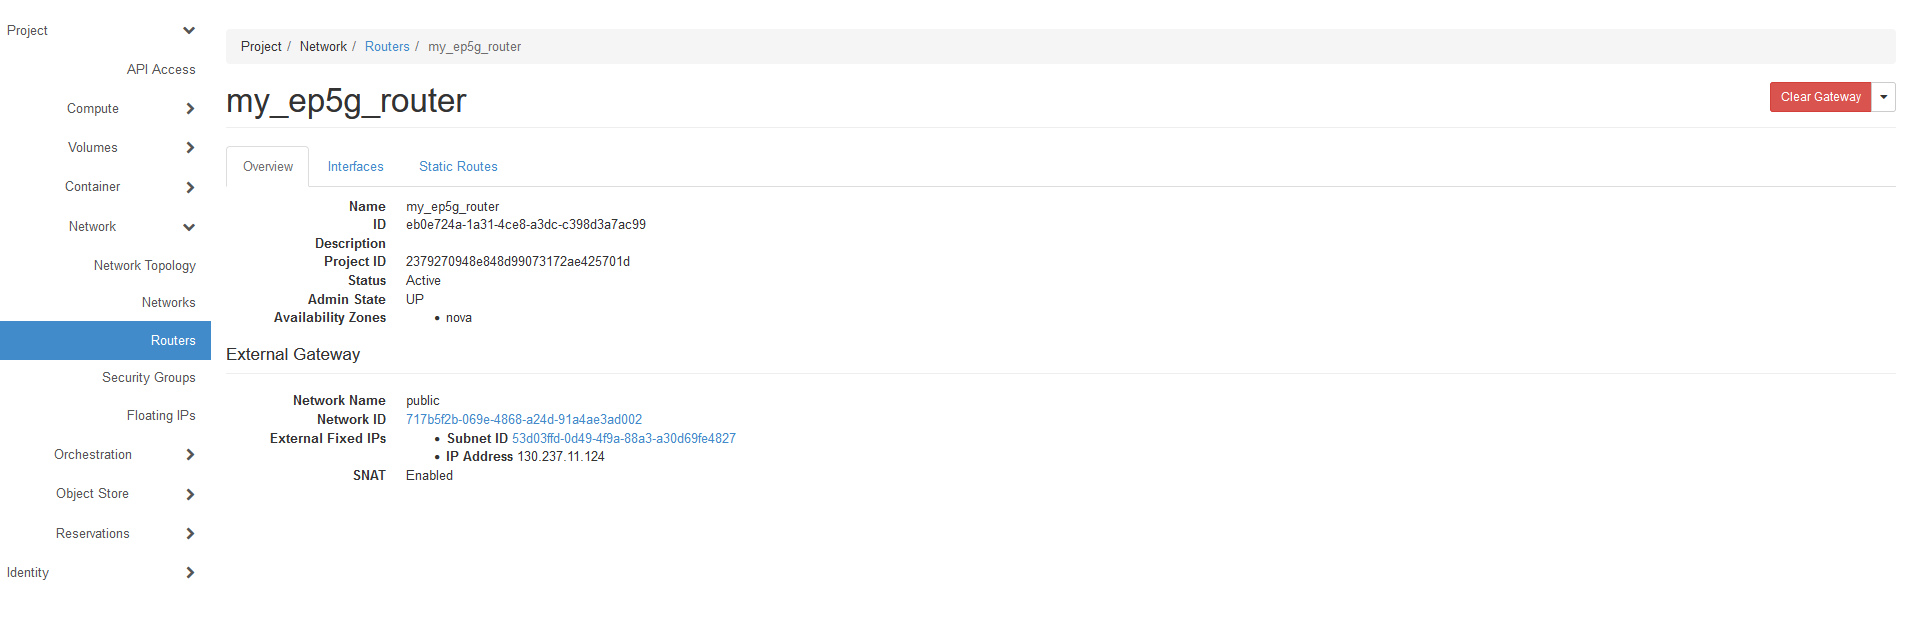
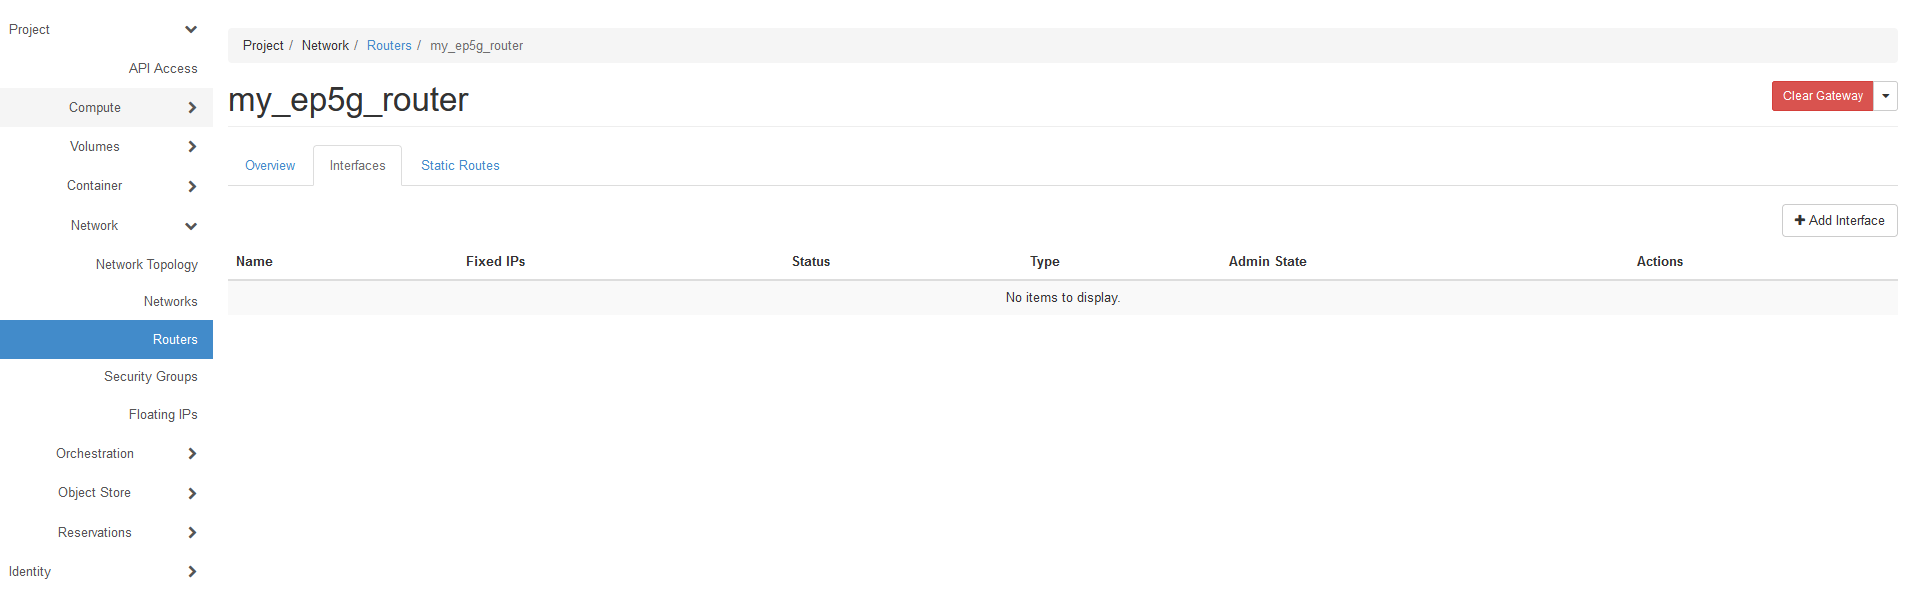
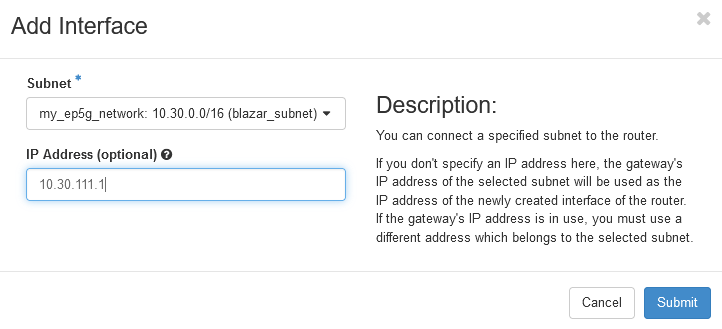
Click on your router. Under Interfaces tab, click + Add Interface
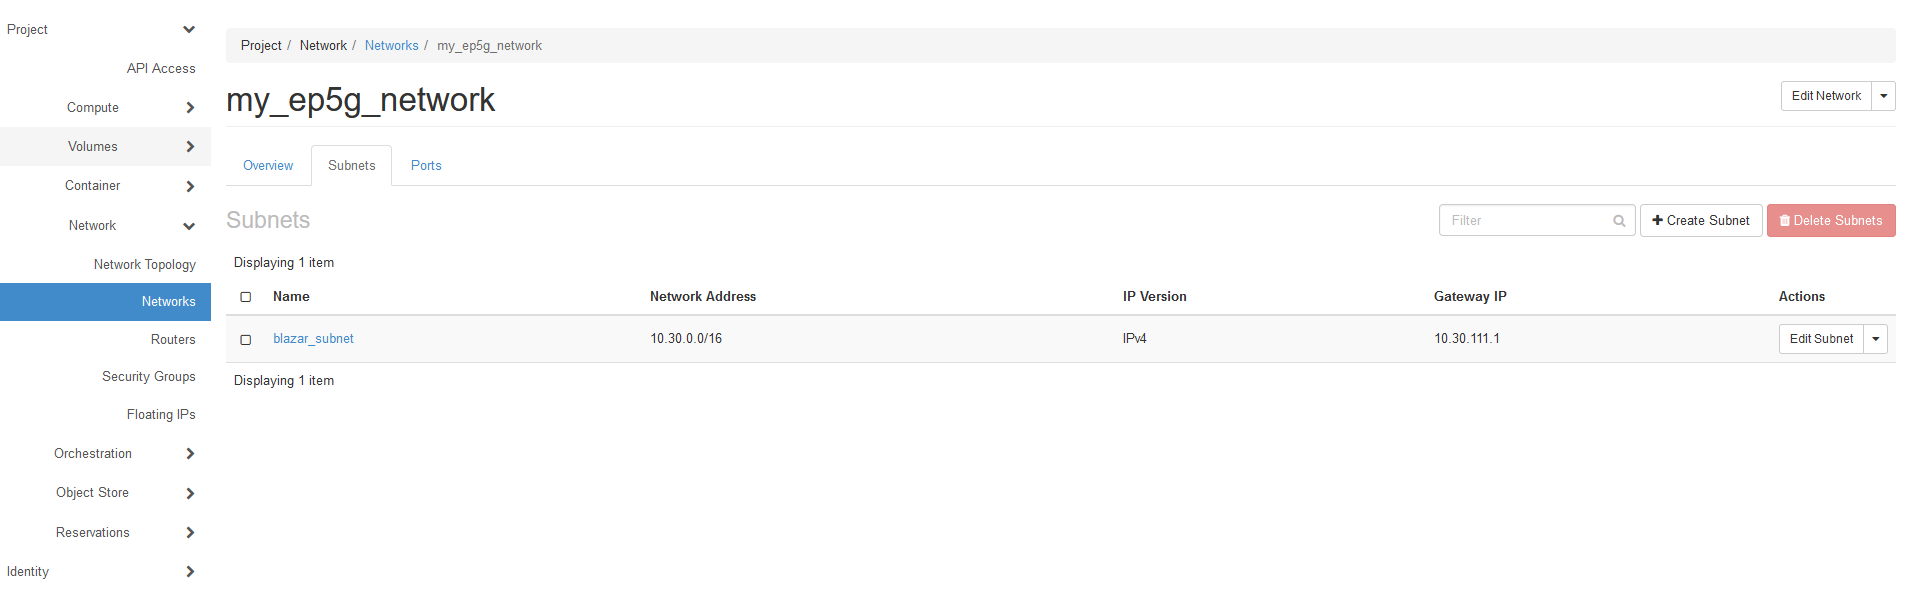
Select the automatically created subnet under Subnet
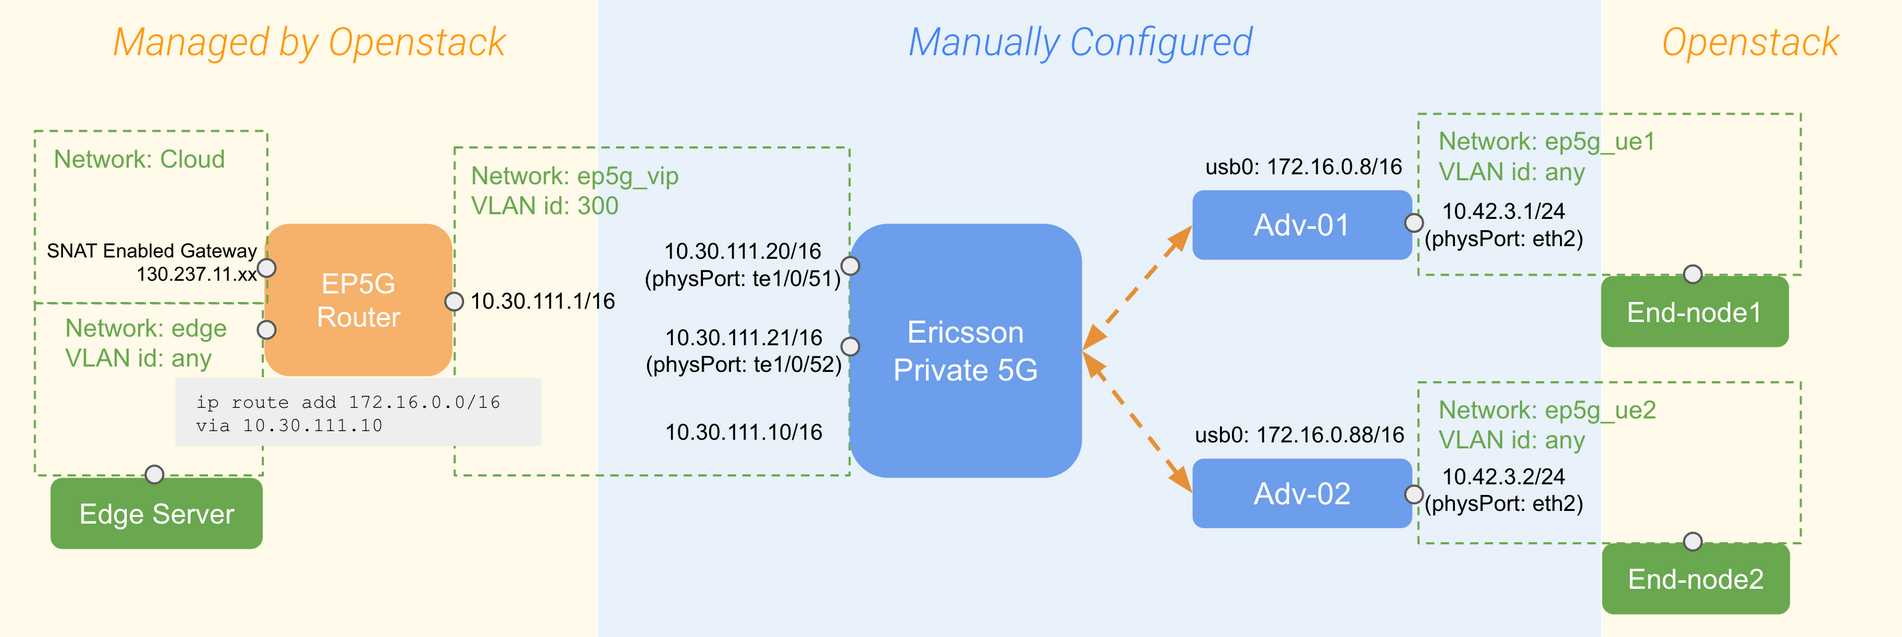
Set IP address to the “default gateway,” which is 10.30.111.1 (See the overall network diagram at the top of this page)
Click Submit
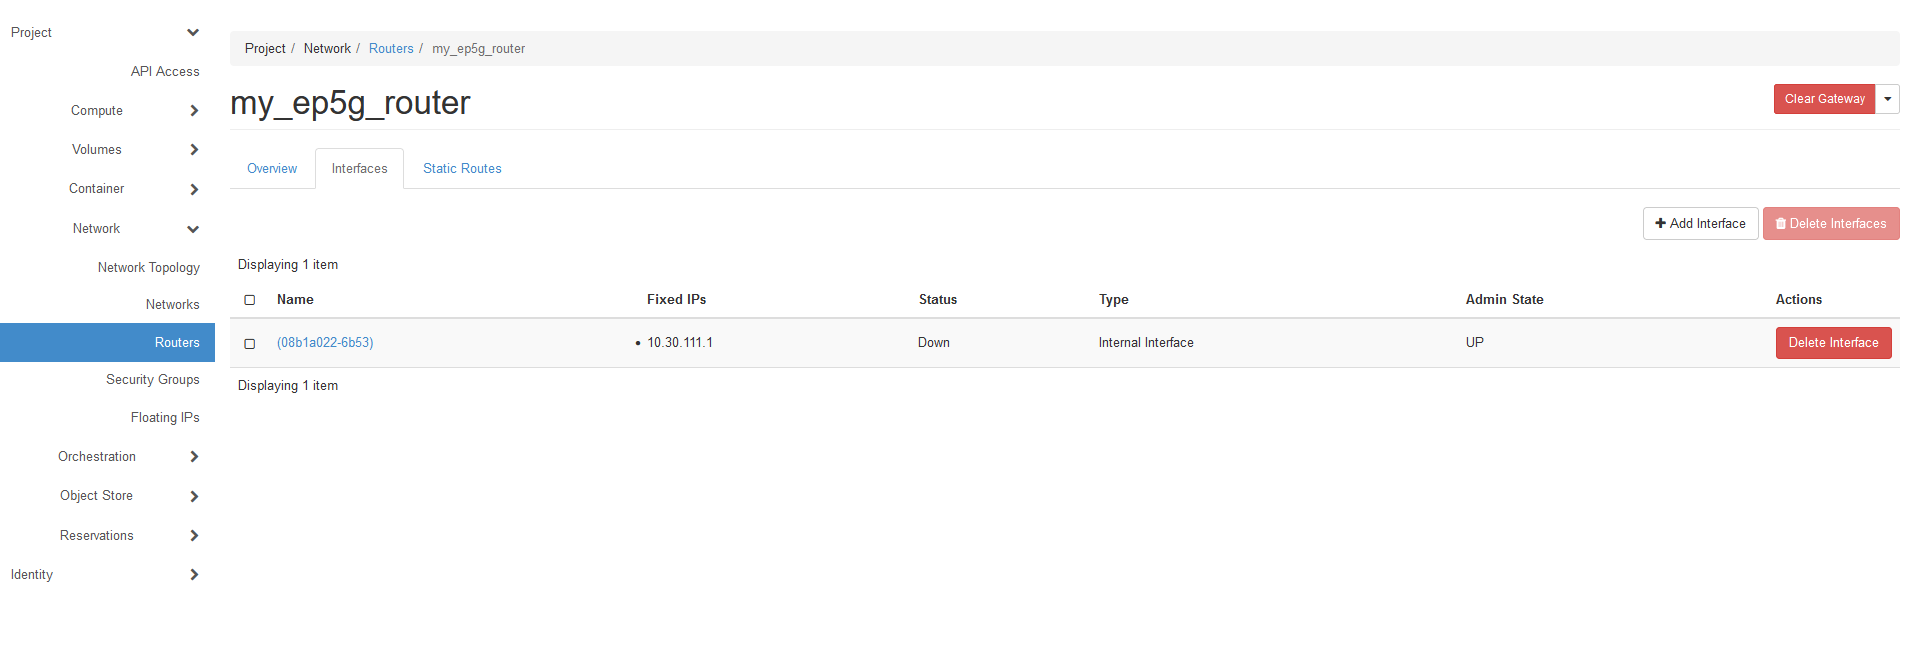
Under Static Routes tab, type destination CIDR 172.16.0.0/16 and next hop 10.30.11.10, so traffic in direction towards end users (wireless Advantech routers, in this case) is routed
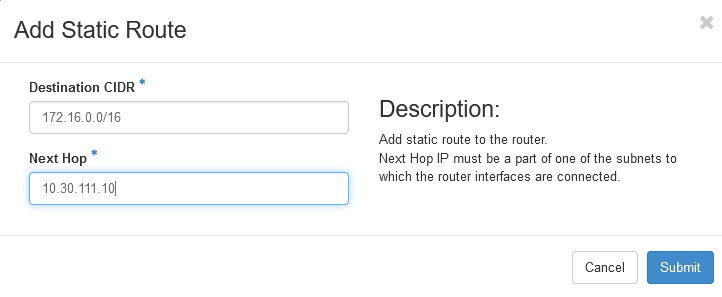
At this time, the networking to communicate via EP5G towards the internet is defined, and if you have any user equipment connected to EP5G, they should be able to communicate with the internet.
If you want to communicate with local edge servers (worker nodes), you have to defined yet another network and include it in your router definitions. Again, see the diagram at the top of this page.
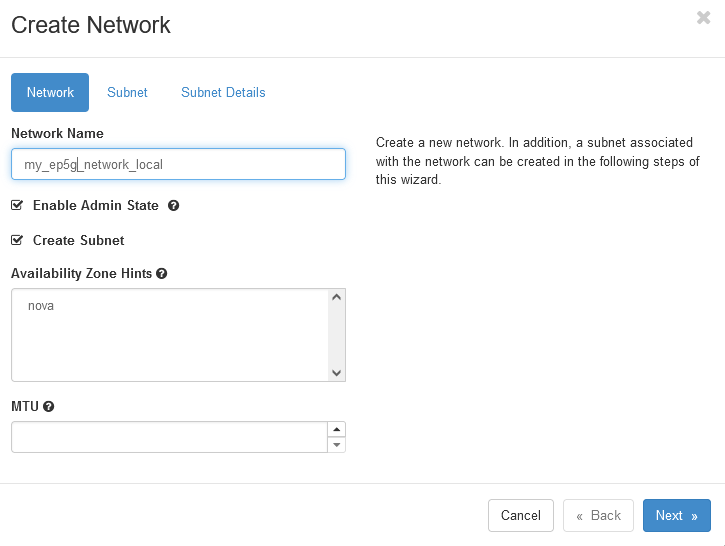
Under Networks -> + Create Network, create a new network
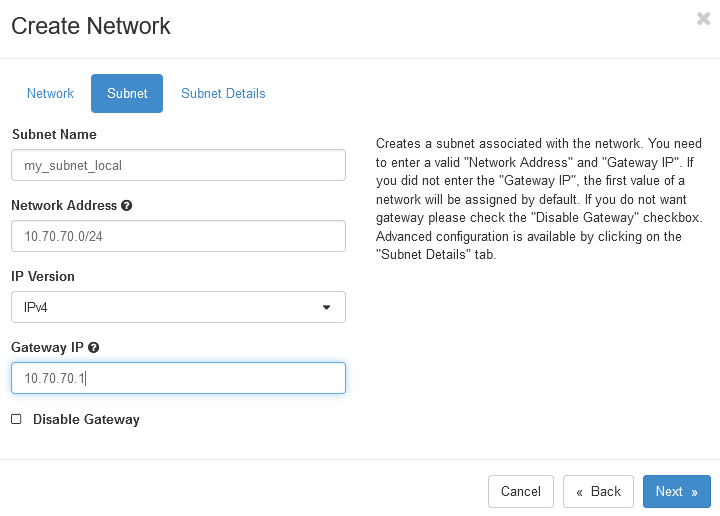
Define a subnet that can reach the container you want to communicate with in a worker node. The actual data will depend on the container address. In this case, the subnet is “10.70.70.0/24”.
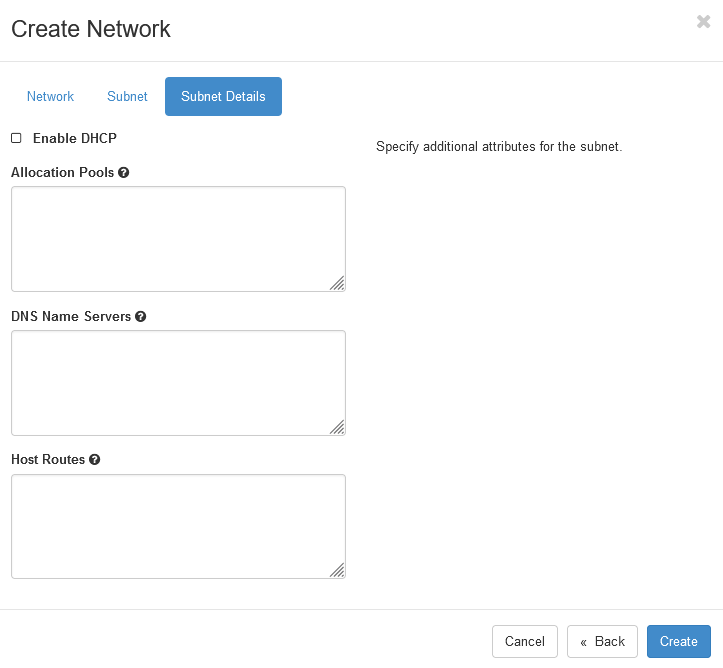
Under Subnet Details, uncheck the DHCP box, and the click Create
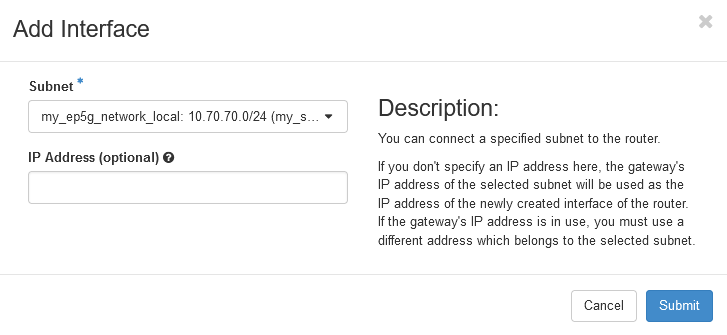
Now go back to Routers on the left panel. Click on your newly defined router, and under Interfaces tab, click “Add Interface”. Add the the new local network as subnet. You can leave the IP address blank if you want. Then, the IP address you have earlier defined as gateway of the subnet will be used for the interface. Click Submit.
You should now also be able to reach your edge container located on a worker node from your user equipment