Running a Python Notebook
This guide will walk you through the steps of running a Python Notebook to configure the ExPECA testbed. For this example, we have chosen a notebook that reserves and configures a Software Defined Radio plus a Worker Node (edge server).
Step 1: Log in to ExPECA
Log in to the ExPECA testbed and navigate to your project.
Step 2: Open the Python notebook in a separate browser
Open the Python notebook by navigating to its location in Github.
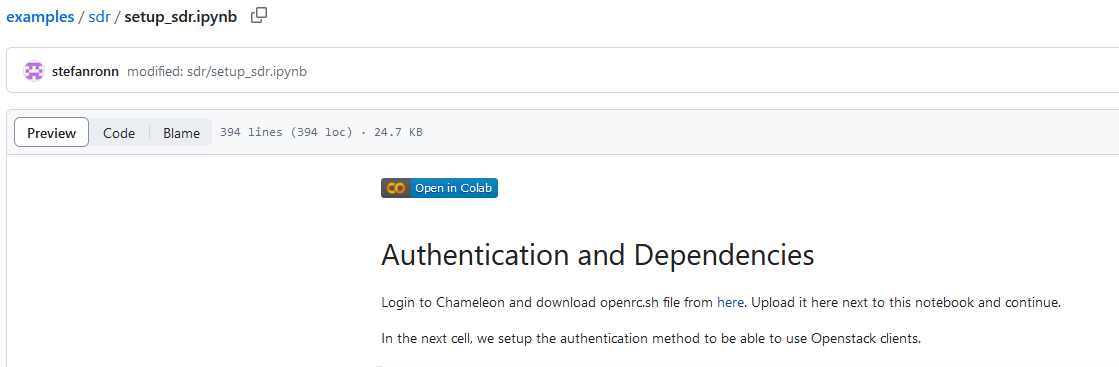
Step 3: Open the notebook in Colab and get authentication file
Click the “Open in Colab” button at the top of the notebook
This will open the notebook in Colab. Note that there is a file manager icon on the left side. Click on it to expand the left pane.

Click the link to download the openrc.sh file. A new tab will open.

Click the given link. This will download the openrc.sh file to your local computer. Upload it to your Colab file system on the left pane.
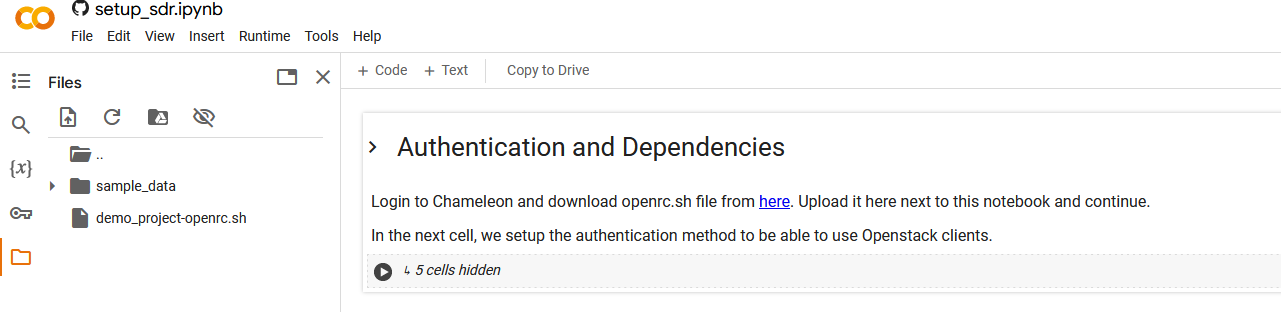
Change the openrc.sh file name so that it exactly matches what is expected in the notebook
Step 4: Run/play the cells in the notebook
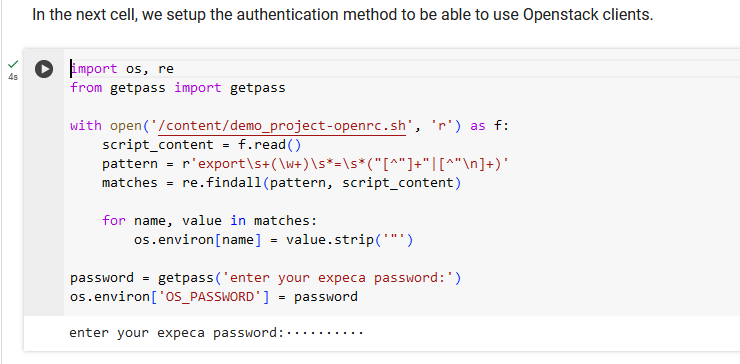
Run the first cell (authentication) in the notebook by clicking the “play” symbol on the top left side
When prompted for password, use the password that you previously used to log in to the ExPECA testbed
A green check mark by the “play” symbol will indicate successful execution
Run the cell for installation of required packages and dependencies

Run the cell for importing Python packages

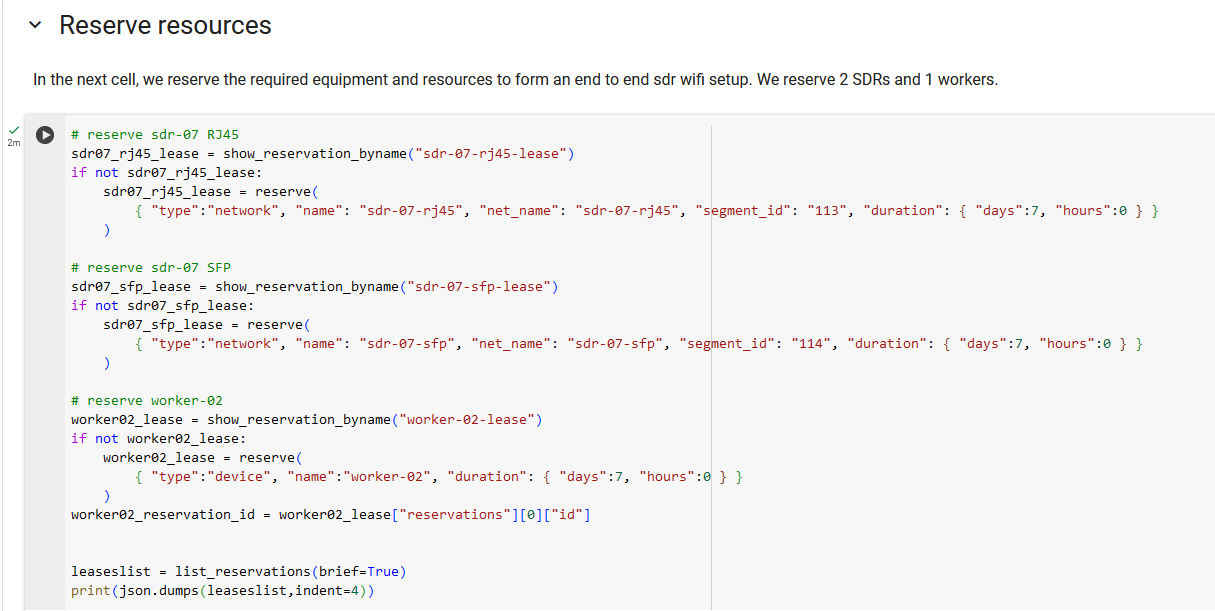
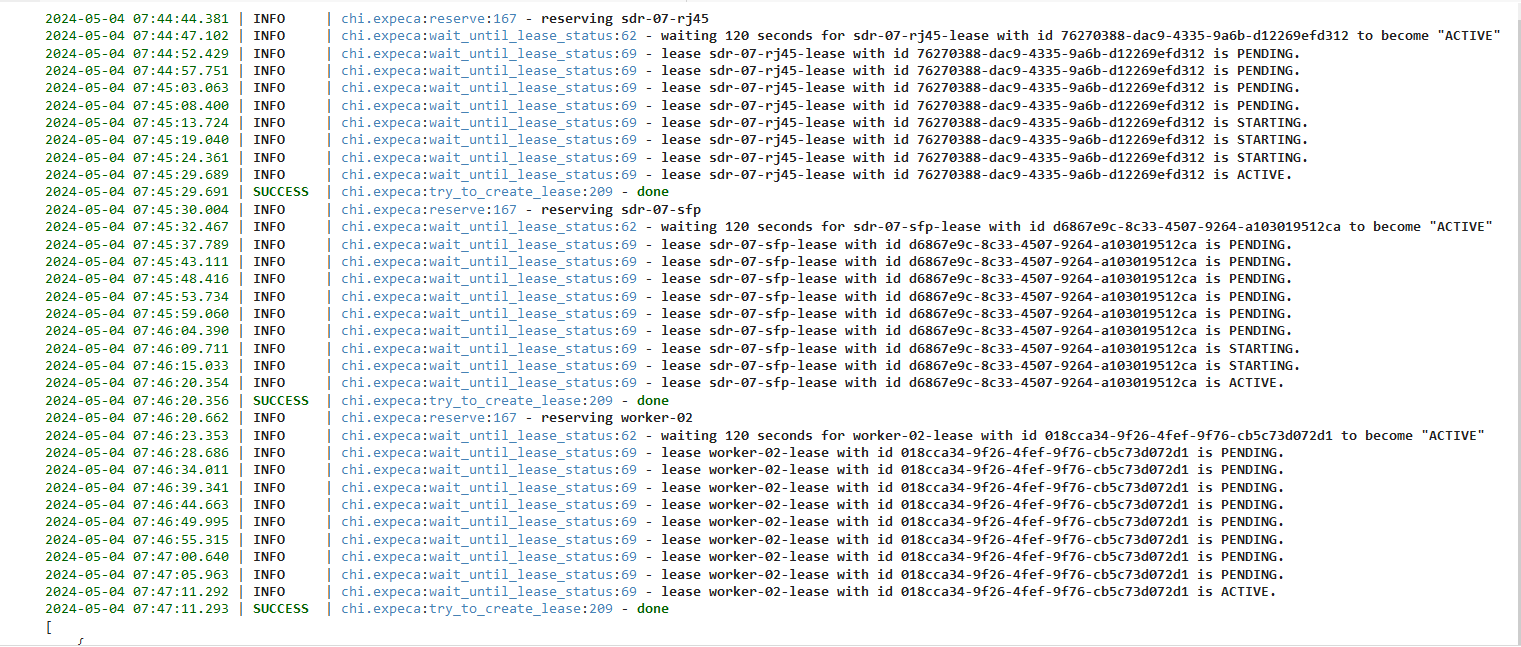
Run the cell for reserving resources (SDRs, worker nodes, etc) in the testbed. This creates leases and networks in the testbed
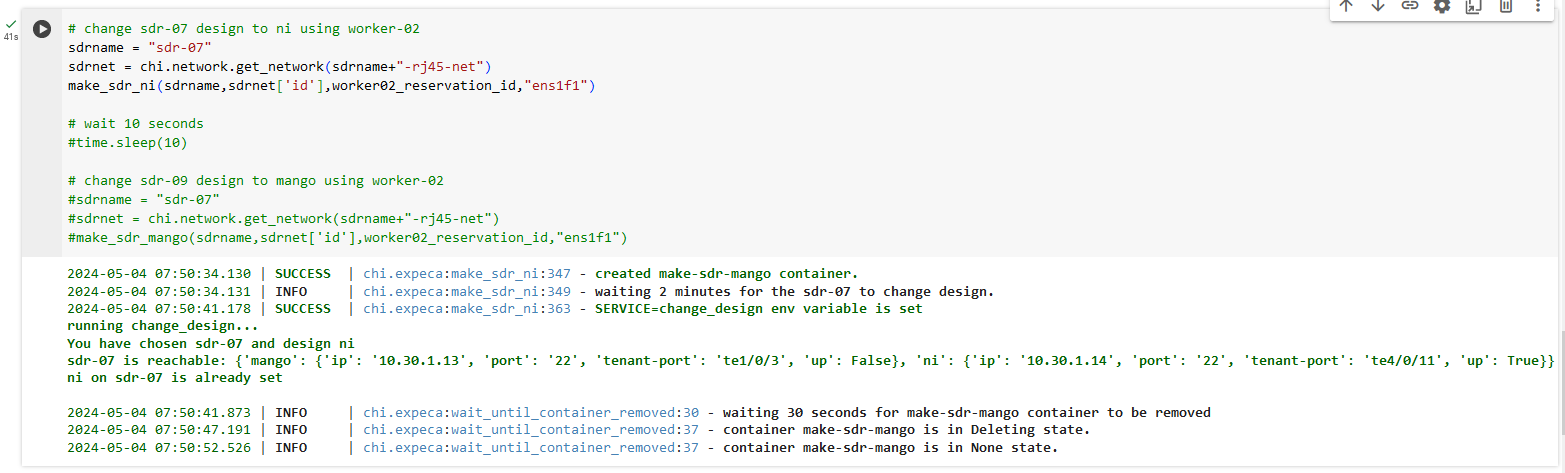
Run the cell that changes the SDR design to NI or MANGO
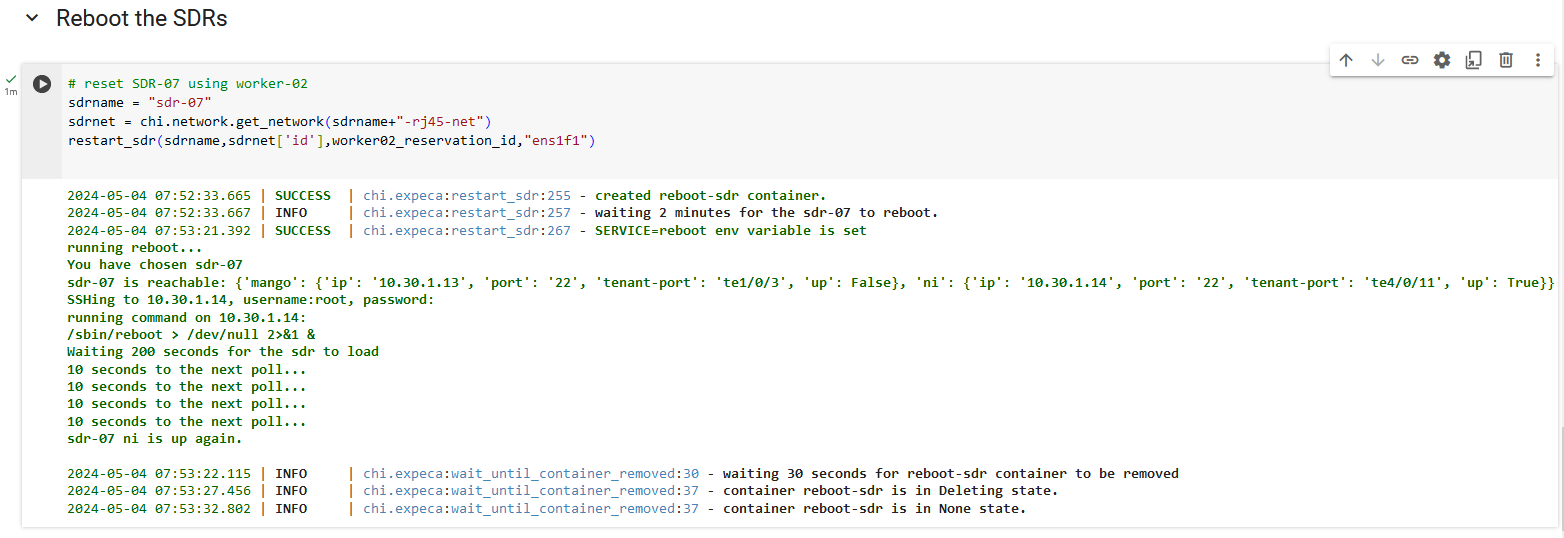
If needed, run the cell for rebooting the SDR. In this case it is optional, because the SDR was rebooted in the previous cell
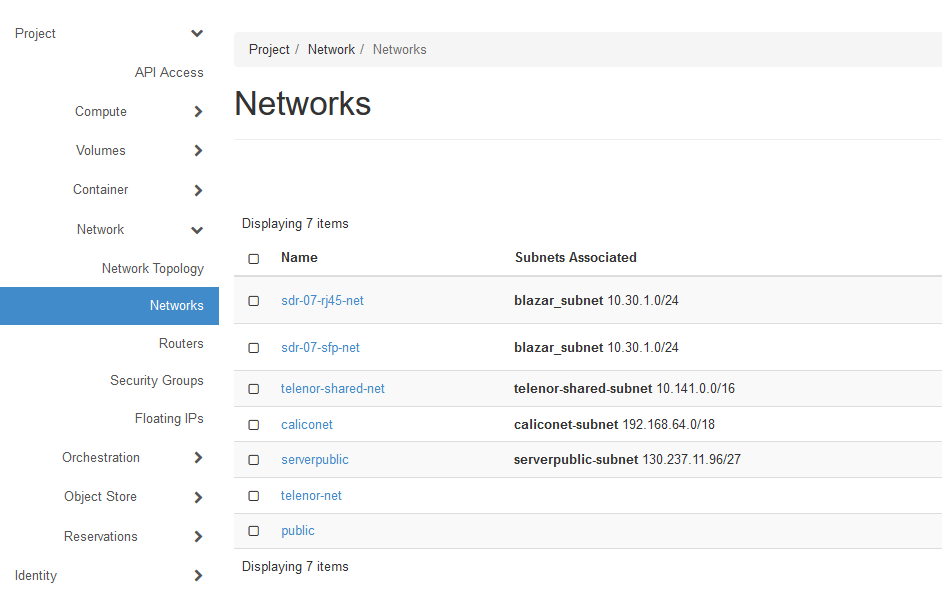
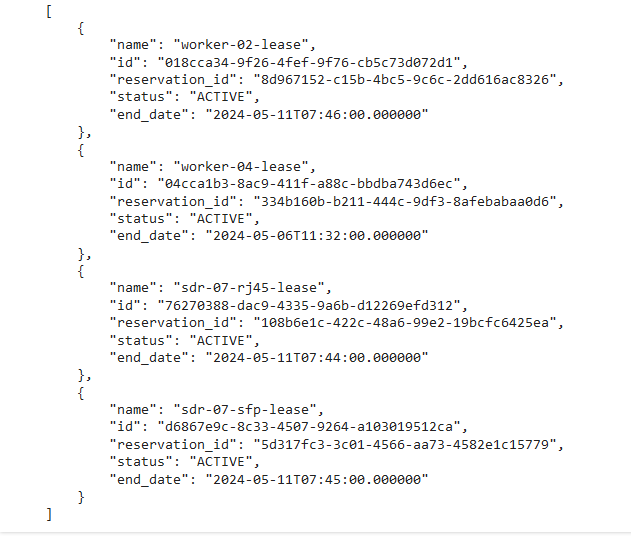
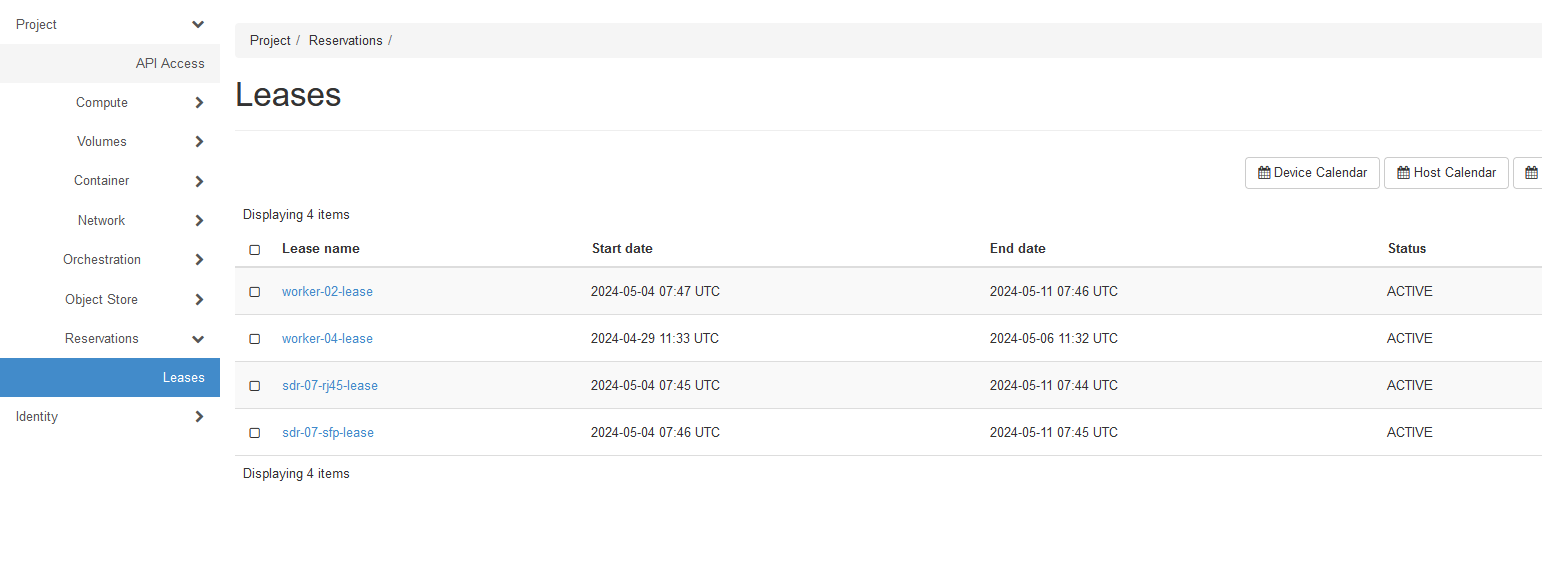
You can now go back to the ExPECA testbed management and check that the leases were created
You can also check that the networks associated with the SDR were created. SFP = NI and RJ45 = MANGO.